
Setup Wizard - MBS Axapta
2022-09-01 008.384
1. The Setup Wizard
The Setup Wizard provides an easy way to setup the components required for working with SW-Tools TRIO for reports, queries and data entry and for SW-Tools ODBC driver.
The wizard will guide you through the following:
- Selecting an interface (Required)
- Checking that required components such as Windows DLL's is present (Automatic)
- Setup of the interface fields (Required)
- Location of the sub system (Required)
If you require to amend an interface setup by this Wizard please refer to the 'Data-Dictionary' manual.
2. Step 1 - Interface
When the Setup Wizard is started you are required to select an interface. Normally you will only have one but several may be listed according to the interfaces known to the SW-Tools products.
You need to select the following interface as shown in this figure:
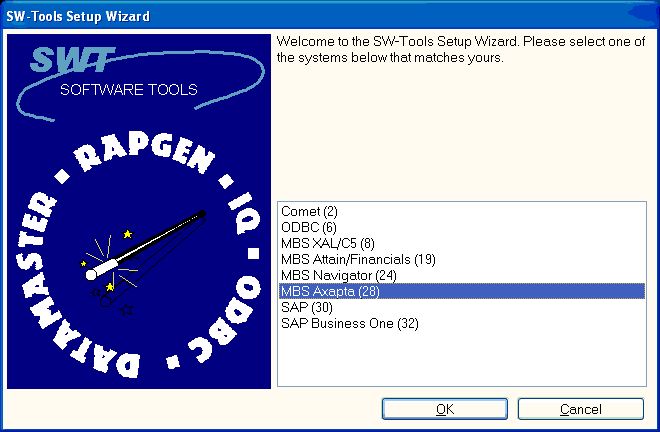
1. Selecting the MBS Axapta interface
2.1. Requirements
There are some requirements which must be present in order for the SW-Tools products to access Axapta.
- The Axapta license MUST include at least 1 Business Connector (COM Client) license
- The Axapta COM connector must be registered (use the Axapta Configuration utility)
How to handle these steps, please refer to your Axapta documentation.
3. Step 2 - Connecting to Axapta
This chapter describes how to enter the fields required to setup access to MBS Axapta.

2. Setup access to Axapta dialog
The Wizard will use a name and descrition to identify the setup. If any changes/extensions are made to your MBS Axapta database table/field definitions you have to go through the setup wizard again to update your TRIO dictionary.
3.1. Identification
The field Name and Description is by the Wizard to name the interface, subsystem and ODBC datasources with. A name is generated according to these rules:
Interface = <name>
Subsystem = <description> <name> (<company>)
System DSN = <name><company>s
User DSN = <name><company>u
File DSN = <name><company>f
The length of name is limited to 6 characters and the description to 64.
3.2. Username
Enter the username that you use when logging in. This is the Axapta user id.
3.3. Password
Enter the password for the user.
3.4. Configuration
Enter the Axapta configuration name. If left blank the current active configuration is used. If you use a configuration file for all your client you may specifiy the full path and filename of the configuration.
3.5. SW-Tools Server connection
With this feature you will have the following advantages:
- The ODBC datasource fro SQL Server/Oracle is only required to be setup and licensed on the server
- SW-Tools IQ superindex search is optimal
In order to use this facility you must install the SW-Tools Windows Server on the server where the MBS Axapta database is located.
On that same server the Axapra Client must be installed and licensed, and an interface prepared using the SW-Tools Setup Wizard - MBS Axapta.
If you use the server connection you will NOT need step 3.
3.5.1. Server interface
When you from the client make access to the SW-Tools Server you will only be able to select one of the interfaces setup on the server using the SW-Tools Setup Wizard - MBS Axapta.
3.6. File id
Normally the Setup Wizard will generate a file id for all tables automatically according to the uppercase part of the unique axapta tablename plus some additional character to make it unique, e.g. 'CustTable' becomes 'cty'. You may also gererate the id according to the table number or tablename defined in axapta.
3.7. Database relations
If you checkmark this option the wizard will automatically locate relations between tables in the Axapta system. On a standard Axapta 3.0 installation this will result in appr.x. 50.000 relations. Because of this you should expect a duration of half an hour before completion.
4. Step 3 - Company selection
TRIO may work with any company located in the Axapta system. You may select one or more from the listing shown here:

3. Selecting companies
If you select more than one a subsystem will be generated for each selected company.
5. Step 3 - Data Dictionary

4. TRIO subsystem path
6. Finnished
When the wizard has completed it will list what has been setup:
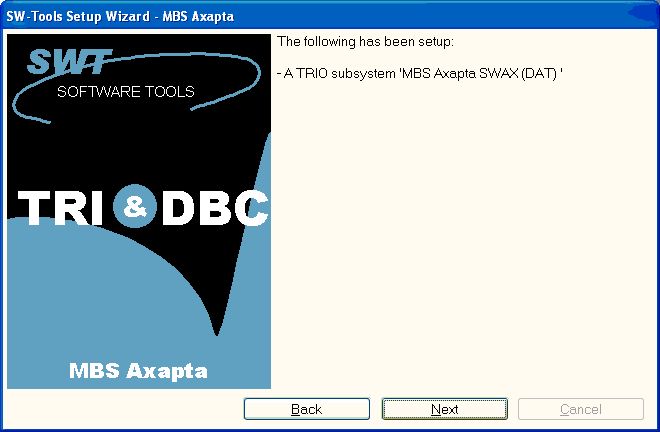
5. What has been setup
You may now work with SW-Tools TRIO and ODBC.