Cube Administrator
2022-09-01 008.384
1. Preface
SW-Tools Cube Administrator provide you with a simple way to produce a business intelligence cube definition.
It is made simple because of the powerful SW-Tools Data Dictionary, where all information about your ERP database is present.
This manual is not intended to explain what the terms
- Business Intelligence
- Cube
- Measure
- Dimension
- Drill-down
means, but to show how easy it is to administrate your analysis definition.
1.1. Integrated in SW-Tools IQ
The following enhancements have been made to the user interface in SW-Tools IQ:
- A toolbar item to start the cube administrator
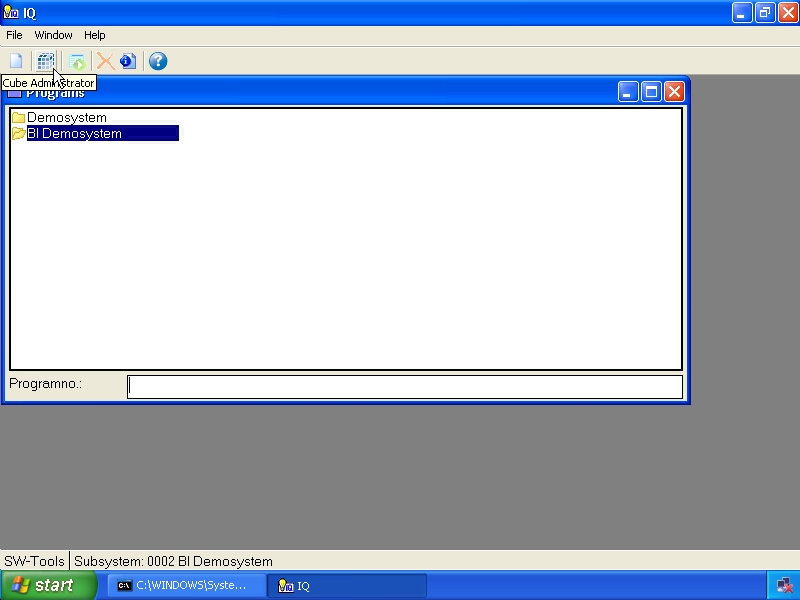
1. Selecting the BI Administrator
Please refer to the samples made in this manual to see the interface changes.
1.2. Requirements
The Cube Administrator requires SW-Tools TRIO version 008.036 or higher. It also requires a separate license.
2. How to define a new cube
This chapter will step by step describe how you may define a cube.
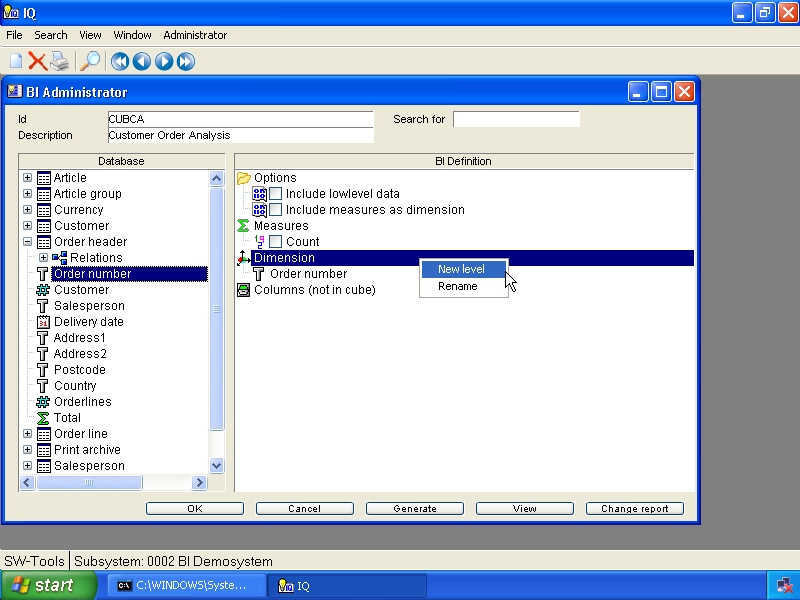
First you need to select the function New which will place the cursor in the field Cube id.

2. Create a new cube definition
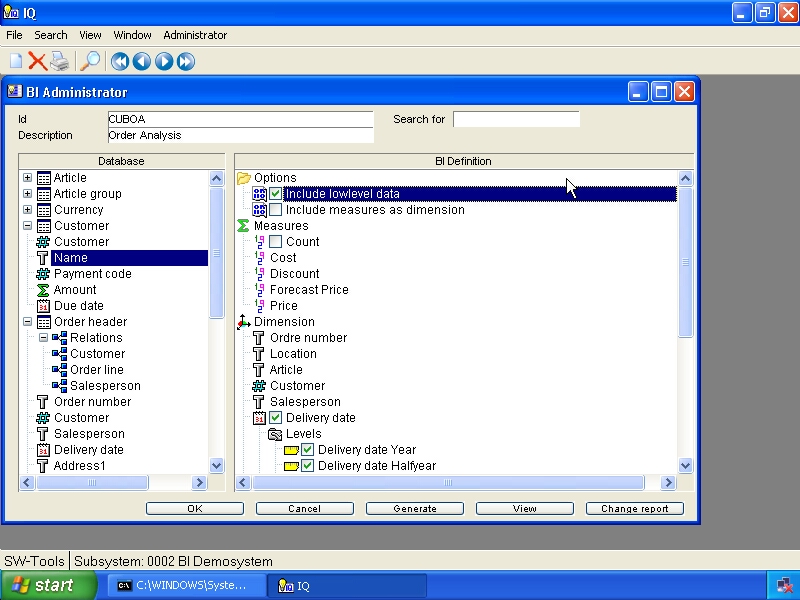
2.1. Cube identification
The cube is identified by an id and a description. The id is unique and will be places within the normal SW-Tools Data Dictionary list.
It is recommended that the cube id begins with the characters cub, for example a cube id cuboa.
The description is the actual description, e.g. Order Analysis.

3. Cube identification and description
2.2. The BI Definition view
Once the cube id and description is entered the view named BI Definition will appear with standard entries.
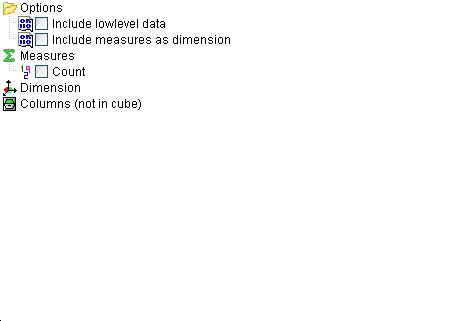
4. BI definition view
2.2.1. Options
2.2.1.1. Include lowlevel data
When a cube is generated it is based on a set of records, e.g lowlevel data, from the database. The cube uses the records only to collect the measures and dimensions defined. For example the cube may contain a measure Price and a dimension Salesperson. If the database contain the following records.
| |
Order No |
Salesperson |
Total |
|
10000 |
AM |
10000 |
|
10001 |
AM |
20000 |
|
10002 |
WWW |
50000 |
the cube would normally only contain the following information:
| |
Salesperson |
Total |
|
AM |
30000 |
|
WWW |
50000 |
This makes the cube optimal in size. If you want to be able to drill-down from the analysis on the Salesperson to the actual records that formed the total you need to include lowlevel data. This inform the cube that it need to generate an additional file containing the lowlevel data.
Please remember that if you build cubes from a database with millions of records the cube may explode in size.
5. Lowlevel option
2.2.1.2. Include measures as dimension
When the cube contain more than one measure, for example Cost, Discount and Price, you may want to compare all of these values on a chart. Normally the view of a cube is limited to work with one measure at a time, but if you define the cube with this option you are then able to select one, more or all of the measure fields to be displayed at once.
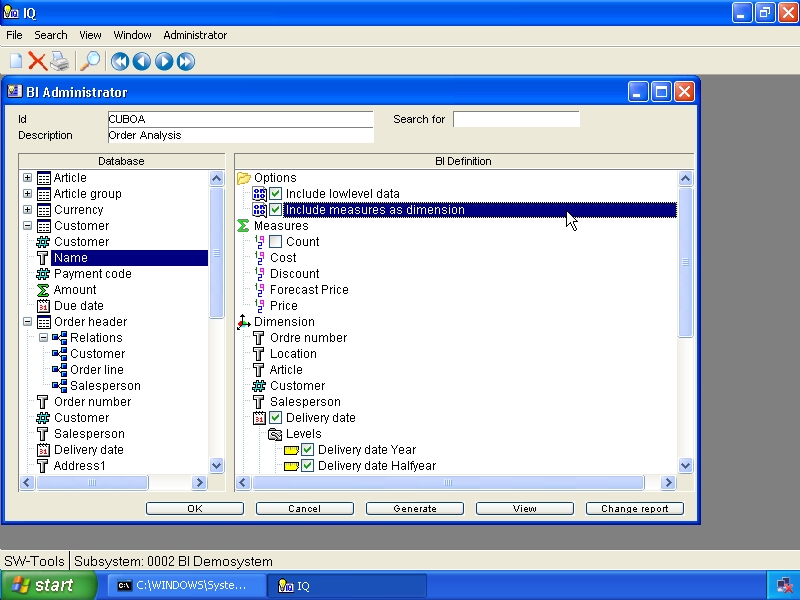
6. Include measures as dimension option
2.2.2. Measures
A measure is simply a numeric value which is summed up when generating the cube. For example, the Total may be present within the database and when summed up you have the grand total. This total is of course then present within the cube according to the dimensions defined. For example, if Salesperson and Country have been defined as dimensions you will have the Total according to the following combinations:
- Salesperson
- Country
- Salesperson/Country
The measure entry always include a count member. By default it is not checkmarked, but if checkmarked the cube will provide the count of elements collected within each defined dimension. For example, how many customers that is linked to a specific Salesperson or Country.
2.2.3. Dimensions
A dimension is simply any kind of value within your database that represents an identification of the measures you have defined. For example, if you want to analyse orders the following dimension could be interesting:
- Customer
- Salesperson
- Country
2.2.4. Columns (not in cube)
A column that is required to be inserted into the cube may not always be a measure or dimension used to sum up values. For example, if you need to include the customer name, e-mail address etc. for lowlevel data analysis you may use this section of the cube definition.
These columns can only be accessed and viewed in the analysis on the low level.
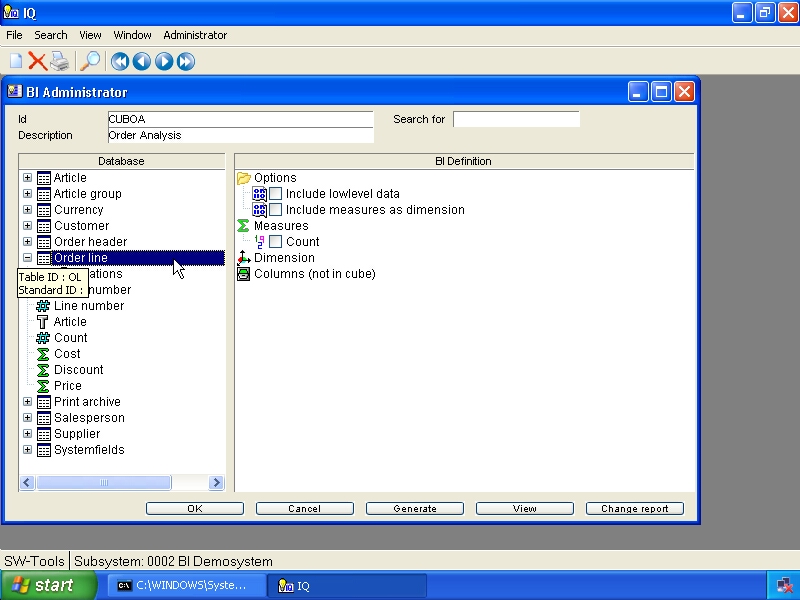
2.3. The Database view
The database view will list all tables within the SW-Tools Data Dictionary. Each table is represented by its description. The tooltip of each table will provide some additional information about the table.

7. BI database view
To open a table to view all defined relations and fields you may click on the + symbol or double click on the table name.
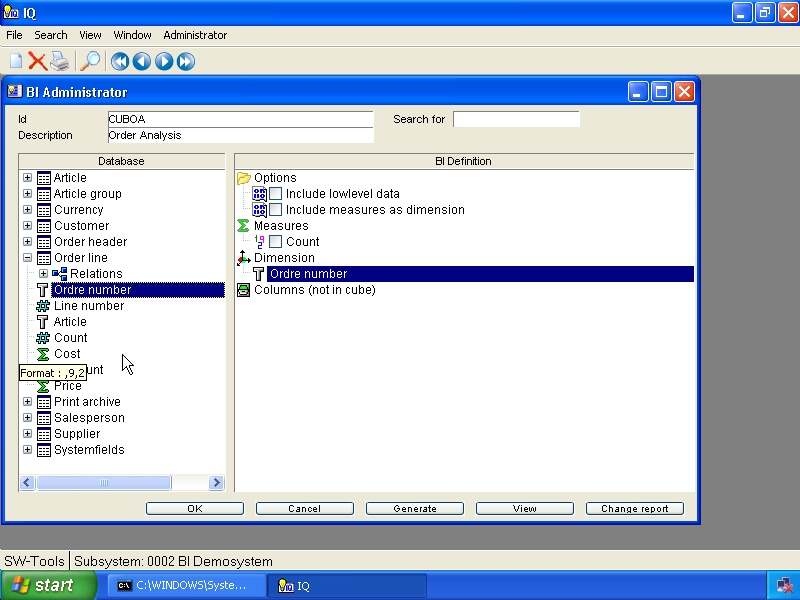
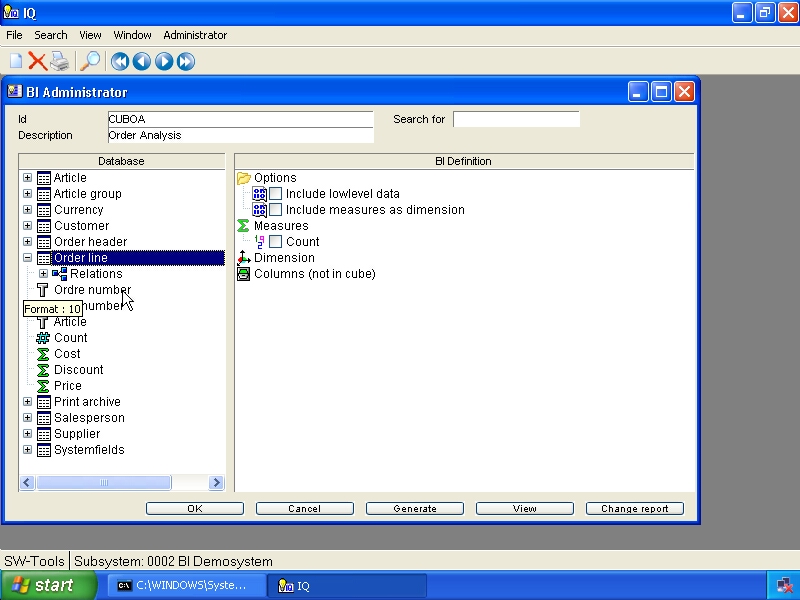
When a table is opened the first entry may include relations to other tables. This entry may be opened to access the links available.
Each field within a table will show a symbol according to the type of field. The type is used to specify weather the field applies to a measure or dimension, if it represent a date or a time for easy drill-down functionality.
The tooltip of a field will display the field format. Also, if a field is a enumerated field, e.g. specific codes applies to predefined descriptions, the tooltip will additionally display all possible values and descriptions.
8. Open a table in the database view
2.3.1. The primary cube information
A cube is generated according to data from the database. If an order analysis is requested the primary information may be the order line table, if it be a financial analysis the primary table is another.
In order to add a measure, dimension or column (not in cube) you need to select from the database view. The first selected item represent the primary table of information. From the primary table you may then add items from secondary tables.
2.4. Adding measures
A measure is added to the cube definition by double click on a field within the Database view.
9. Adding a measure
2.5. Adding dimensions
A dimension is added to the cube definition by double click on a field within the Database view.
If a field of type date or time is selected the dimension inserted to the cube definition will automatically apply drill-down functionality. Please refer to the chapter How to define drill-down functionality.
10. Adding a dimension
2.6. Adding columns (not in cube)
To add columns (not in cube) you need to follow the instructions in the following section.
2.7. Adding field and control the type
If you need to add a text field as a measure or an amount field as a dimension you cannot simply double click on the field. You need to right click the field which provides a menu from where you may select how to add the field. The menu allows you to add as
- Dimension
- Measure
- Column (not in cube)
- Any predefined level definition (such as date,time)
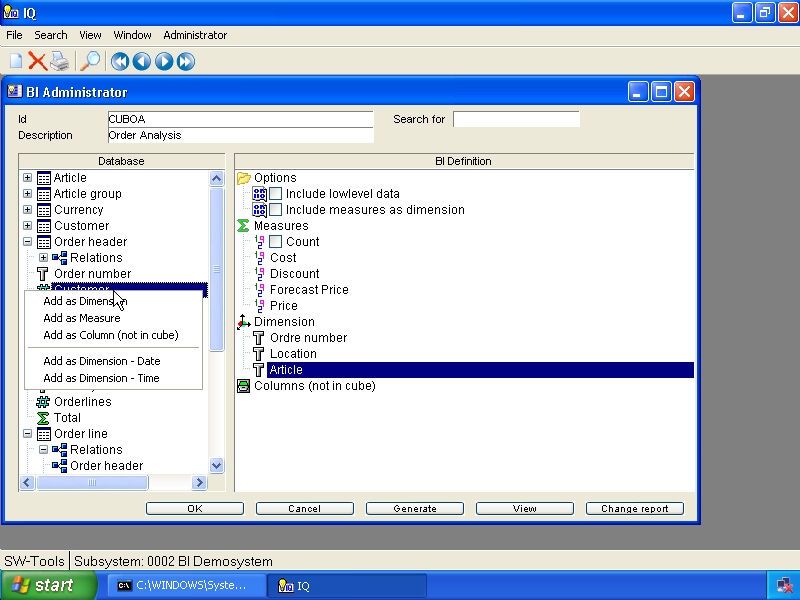
11. Controlling the insert mode of database fields
2.8. Saving the cube definition
When the cube is defined press the OK button to save it.
First it generates a table definition within the SW-Tools Data Dictionary which is the actual cube definition.
Secondly it generates a report within the SW-Tools Report Generator used to collect the data from the database and store it in the cube.
Finally it generates a query within the SW-Tools Intelligent Query used to view the actual cube.
12. Saving the cube
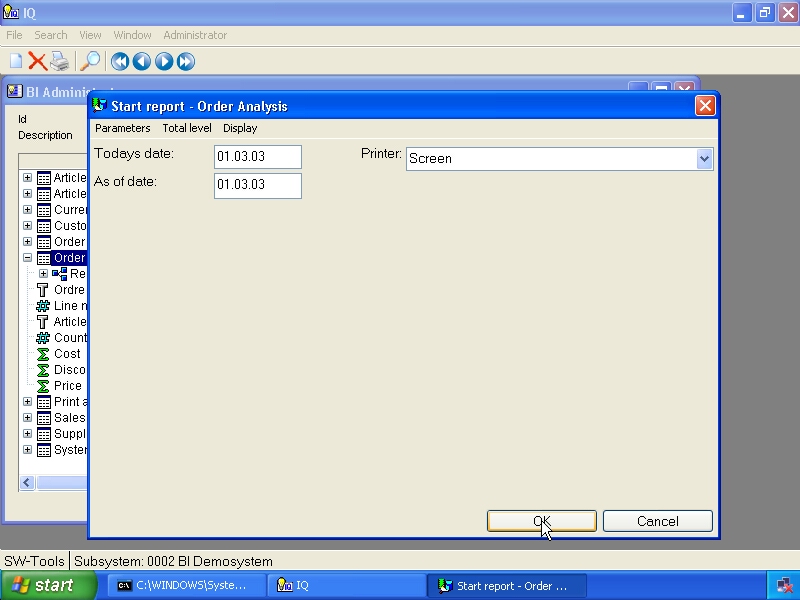
2.9. Generate the cube
When the cube is saved press the Generate button to generate it.
The administrator will now display the start screen of the report generated and you may press the OK button to start.
13. Generating the cube
The report runs as a separate process and the cube cannot be viewed before the report is finished.
Once the report is finished you may close the report view by pressing the OK button.
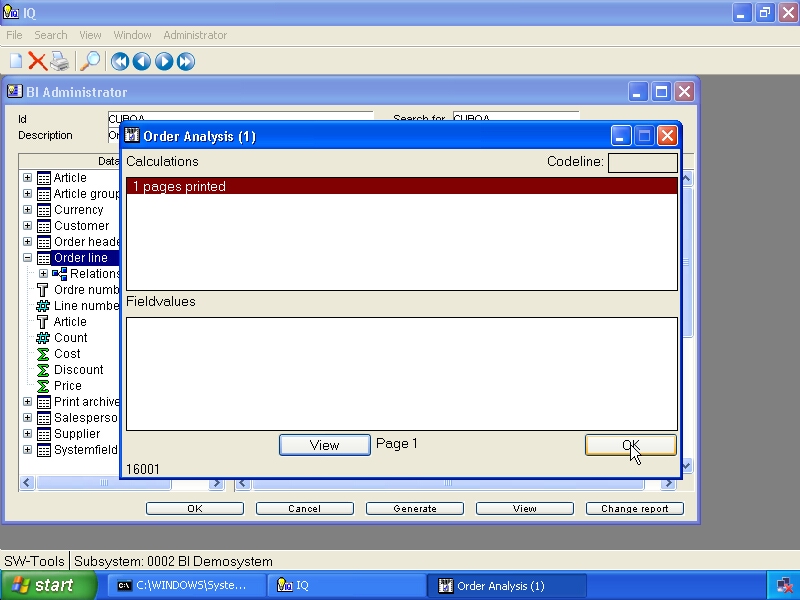
14. Cube generation complete
2.10. View the cube
When the cube have been generated you may press View to start analysing the data collected. Please refer to the SW-Tools Business Intelligence Viewer manual.

15. Button to view the cube
3. How to modify a cube
When modifying a cube you may follow the instructions from the previous chapter.
3.1. Changing options
Any option may be modified simply by adding or removing the checkmark. This is done by double click on the option or a single click on the checkmark box left of the option text.
3.2. Measures, dimensions, and columns
Any measure, dimension or column (not in cube) may be added, modified or deleted.
3.2.1. Adding
Please refer to the previous chapter.
3.2.2. Modifying
A measure or dimension may be modified by right clicking on the item in the BI Definition view.
This will display a menu with the following options:
16. Menu item for properties
Choose Properties to modify the item.
3.2.2.1. Name
The name of any measure or dimension may be changed.
3.2.2.2. Format
The format of any measure or dimension may be changed. For example, if you have a field Article where values such as
0101
2002
5012
7008
and you want have it split in two dimension fields - location and article - it is accomplished by adding the field two times.
The first of the added article fields should then be modified with

17. Location field properties
The second of the fields does not need to be modified as it should contain the entire value.
For more information about field format and calculation syntax, please refer to the SW-Tools Report Generator manual.
3.2.2.3. Calculation
Modifying the calculation of a field open up the possibility to make forecasting in the analysis.
For example, if you would like to compare the actual price of all orders with a possible senario if the price went up 10% you could add the price field as measure a second time and modify the properties with
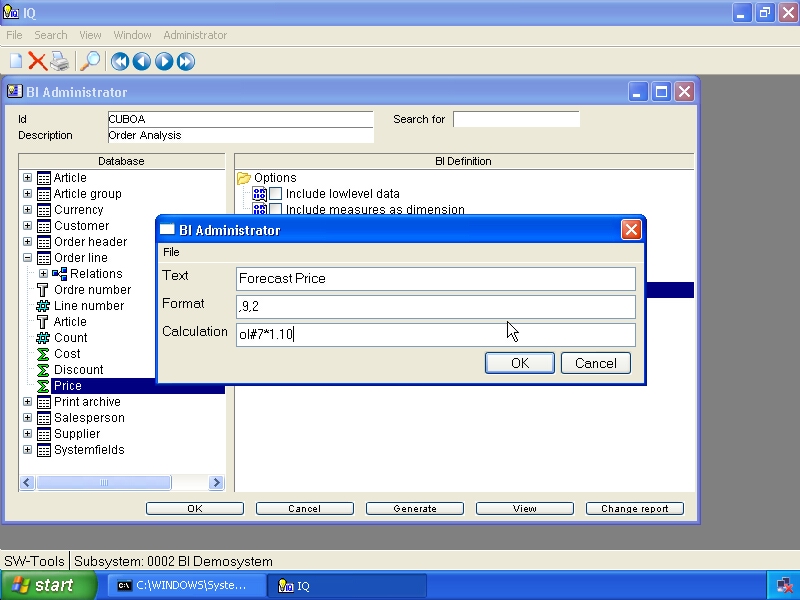
18. Forecast price properties
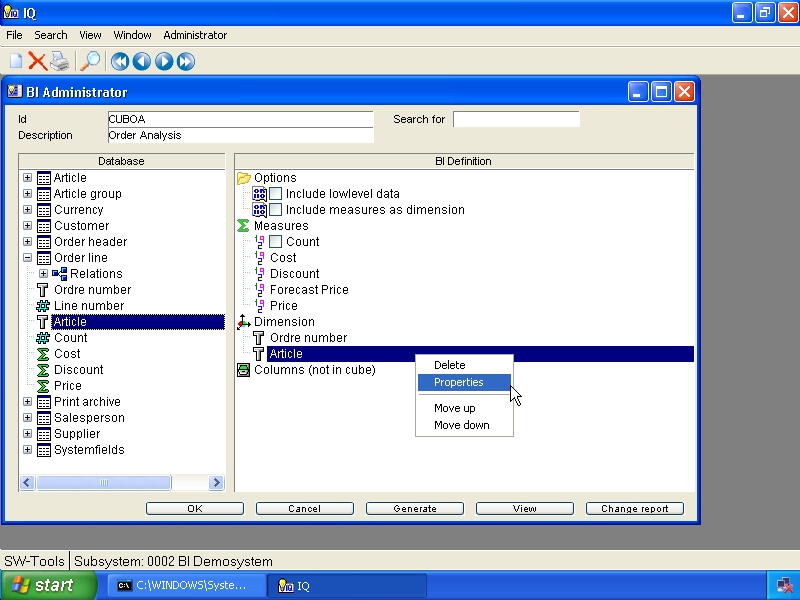
3.2.3. Deleting
This function simply delete an item from the cube definition.
19. Deleting a measure or dimension
4. How to define drill-down functionality
4.1. Predefined drill-downs
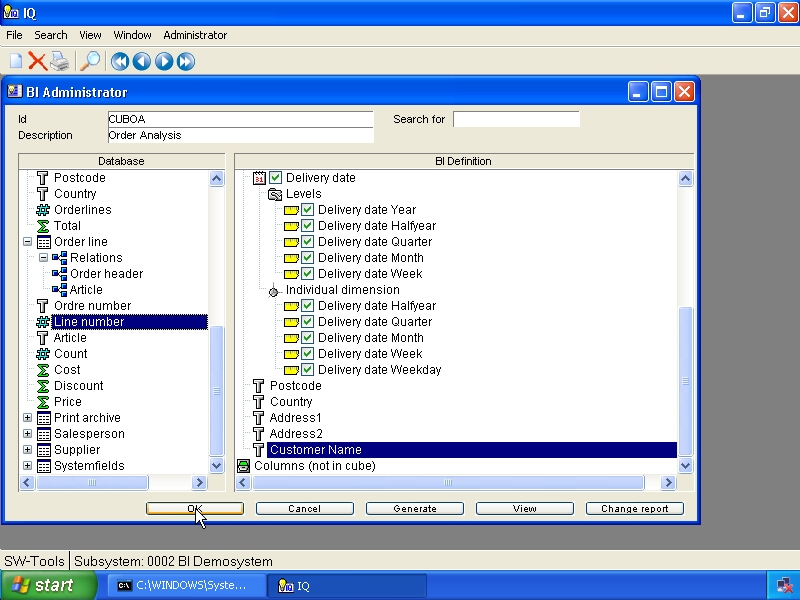
When you insert date and time field from the database view the administrator automatically divides the field into several possible levels. These levels are used for drill-down.
20. Date field predefined drill-down
For a date field you will get the following Levels:
- Date (lowest level in drill-down)
- Year
- Halfyear
- Quarter
- Month
- Week
This present the user who is doing the analysis first with the level year. If the user request is to drill-down into halfyear, e.g. see how the values are divided in the first or second half of the year in question, it will be according to the year selected.
Because the cube may contain values for multiple years it may be useful to analyse the values according to quarters but for all years.
For a date field you will get the following levels as a Individual Dimension:
- Halfyear
- Quarter
- Month
- Week
- Weekday
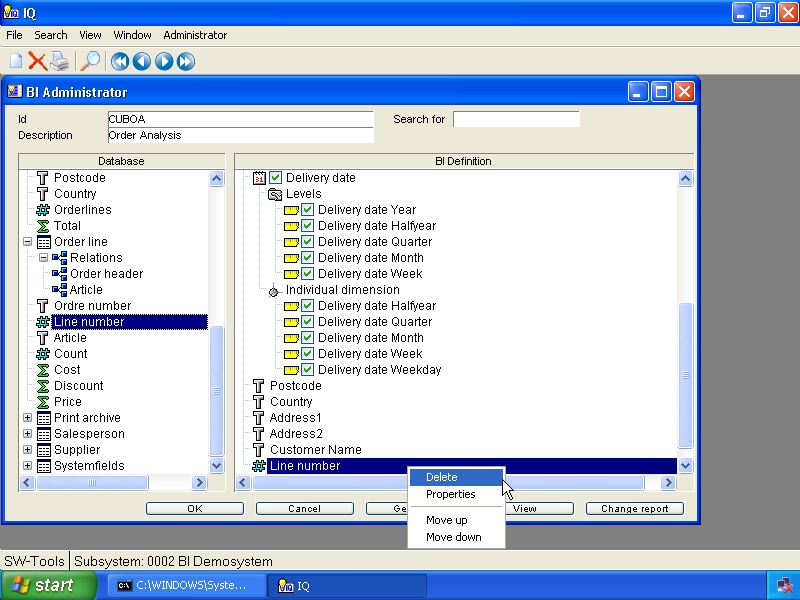
The following show how the order delivery date have been inserted.
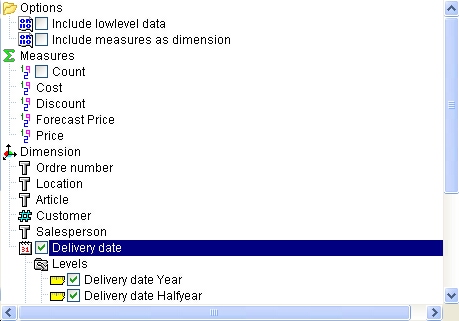
21. Order delivery date drill-down
4.2. User defined dimensions
If you have the need to define drill-down functionality that is not a date or time field, but for example on the price according to orders, it might be suitable to have the following levels of drill-down:
- Country
- Postcode
- Salesperson
- Customer
In order to accomplish this you need first to right click the Dimensions item in the BI Definition view.
22. Defining a user defined drill-down
Afterwards you may insert all dimension fields as normal, but in the desired order for the drill-down.
When all fields have been added the view will be
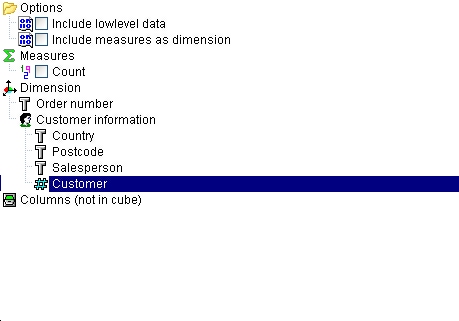
23. User defined customer information drill-down
4.3. Level Administrator
The level administrator is installed with two predefined drill-down types:
- Date
- Time
As described in the section Predefined drill-downs you can simply insert fields of type date or time and you will get the drill-down functionality.
5. How to delete a cube
5.1. Deleting a cube
To delete a cube you need to locate the cube definition first and then select the function Delete.
Please remember that all files will be deleted!
6. Advanced cube calculations
The work with generating a cube may not always be as easy as selecting fields from the database but require many calculations in order to get the correct data prepared for the analysis.
Therefore you have the complete functionality of the SW-Tools Report Generator to make advanced calculations.
6.1. Modify the cube report
7. Technical information
7.1. Location of files
7.1.1. Cube definition
When a cube is defined the system stores the cube definition in the path
File definitions
setup on the subsystem in TRIO. For example, the cube cuboa is then stored as
c:\swtools\demobi\eng\dmf\cuboa.ssd
This makes the definition a part of the TRIO Data Dictionary and you may therefore use the SW-Tools Data Dictionary module to modify and print the documentation of a cube.
7.1.2. Cube files
A physical cube consist of more than one file. All files are stored in the path
Database
setup on the subsystem in TRIO. For example, the cube cuboa is then stored as
c:\swtools\demobi\eng\isa\cuboa.lof - Lowlevel data
c:\swtools\demobi\eng\isa\cuboa.los - Lowlevel data
c:\swtools\demobi\eng\isa\cuboa.low - Lowlevel data
c:\swtools\demobi\eng\isa\cuboa.ssv - Dummy DATAMASTER file
c:\swtools\demobi\eng\isa\cuboa.sum - Sum table
c:\swtools\demobi\eng\isa\cuboa.sux - Sum index
c:\swtools\demobi\eng\isa\cuboa.prf - Preference table
c:\swtools\demobi\eng\isa\cuboa.prx - Preference index
7.1.3. Applications
The report and query generated by the administrator is stored in the path
Reports
setup on the subsystem in TRIO.
7.2. TRIO functions
This sections describes the special subfunctions provides for cube handling.
7.2.1. cub_date - Cube date function
number cub_date(Number par1, Number par2)
Parameters:
Par1: Mode
0=Year as YYYY
1=Half year as YYYYH, 1=first,2=last
2=Quarter as YYYYQQ, 1-4
3=Month ad YYYYMM, 1-12
4=Week as YYYYWW, 1-52
11=Half year as H, 1=first,2=last
12=Quarter as QQ, 1-4
13=Month as MM, 1-12
14=Week as WW, 1-52
15=Day as 1=Sunday,2=Monday...,7=Saturday Par2: Date
Description: Return a part of a date according to a mode.
Returnvalue: Return a part of a date according to a mode.
7.2.2. cub_open - Open cube
number cub_open(Text par1, Text par2, Number par3, Number par4, Number par5)
Parameters:
Par1: CubeID definition name
Par2: Cube filename
If not given, <par2> will be set equal to <par1>
Par3: Open mode
0=Readonly queries on cubes, slower as no calculations are kept
1=Read/Calculate and keep results, Used by cube queries
2=Extend existing cube
3=Build new cube
4=Extend existing cube as mode 2, delete user preferences
5=Build new cube as mode 3, delete user preferences
10=Reconstruct cube from lowlevel data/sum whatever is present
16=Just open for preference read / convert
-3=Delete cube data
-4=Delete user preferences
Par4: Cube options set by build, not used when opening existing cube
1=Store lowdata
Par5: Return errorcode if open failed
Description: Open cube or construct new cube
Returnvalue: Cube handle to be used for other cube calls, 0 if cube could not be opened, <par5> will contain error code
7.2.3. cub_time - Cube time function
number cub_time(Number par1, Number par2)
Parameters:
Par1: Mode
0=Day/Night 1=Day,2=Night
1=Hour as HH
2=Day Period 1=Morning (6.x-10.x),2=Noon (11.x-12.x),3=Afternoon (13.x-18.x),4=Evening (19.x-20.x),5=Night (21.x-5.x)
10=Seconds as SSSSSSSS
Par2: Time
Description: Return a part of a time according to a mode.
Returnvalue: Return a part of a time according to a mode.
7.2.4. cub_close - Close cube
number cub_close(Number par1, Number par2)
Parameters:
Par1: Cube handle
Par2: Option code
1=Do not calculate by close, futher data is to be added
2=Close cube but keep handle to allow error checking later
4=Calculate even if data has not been added
8=Force close, never calculate
Description: Close cube, will be done automatically when program terminates
Returnvalue: 0
7.2.5. cub_adddata - Add lowlevel data to the cube
number cub_adddata(Number par1)
Parameters:Par1: Cube handle
Description: The cube definition fields (KUK) must be filled before calling cubeadddata, this function will construct the indexes needed and write the lowlevel data. Note that the layout of the lowlevel data file KUX may be extended by this.
Returnvalue: 0